

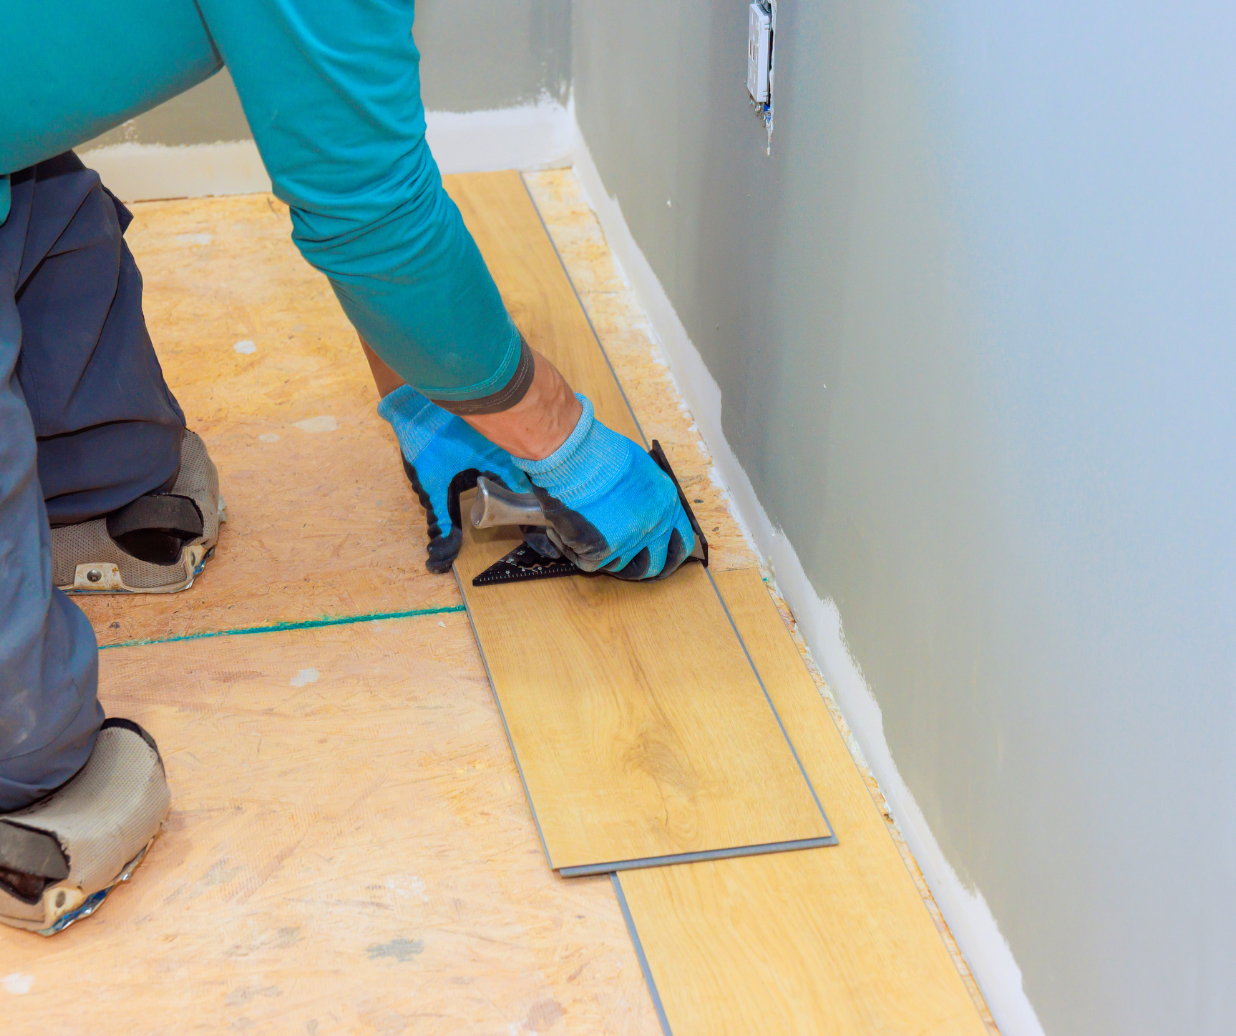
You've made the decision: laminate flooring is going into the family room. You've chosen a rich oak-look plank, the boxes are stacked in the garage, and demo day is Saturday. Then you pull up the old wall-to-wall carpet and discover the subfloor isn't quite what you expected. Maybe it's particleboard that's seen better decades. Maybe it's plywood with a disconcerting soft spot near the sliding door. Maybe — and this is a Westchester classic — it's layers of old vinyl tile whose adhesive may or may not contain asbestos.
This is the moment where a weekend project meets the reality of older home construction. And in a county where much of the housing stock dates from before 1970, this scenario plays out in living rooms, bedrooms, and basements from Yonkers to northern Westchester every renovation season.
Why Subfloors Matter More in Older Homes
Laminate flooring is a floating system. The planks lock together and sit on top of the subfloor rather than being nailed or glued to it. This design makes laminate forgiving in some ways — it can bridge minor imperfections — but unforgiving in others. Every dip, hump, and squeak in the substrate telegraphs through to the surface.
In newer construction, subfloors tend to be uniform: oriented strand board or plywood, flat and predictable. Older Westchester homes tell a different story. Decades of seasonal movement from the Hudson Valley's humidity swings have worked on floor joists. Settling foundations have introduced slopes. Past renovations have left patchwork subfloors made of whatever was available at the time. One corner of the room might sit on original ¾-inch tongue-and-groove planks while another floats on plywood spliced in during a 1980s kitchen expansion.
This patchwork creates unevenness that laminate's locking mechanisms were never designed to handle. Joints separate. Planks develop a telltale hollow sound underfoot. In the worst cases, the locking profile fractures entirely.
What You're Likely to Find Beneath the Surface
Before you can prepare a subfloor, you need to know what you're working with. In pre-1980 Westchester homes, expect to encounter at least one of these situations.
Plywood or OSB that has delaminated or swelled around exterior doorways. Decades of winter slush and road salt tracked in from Mohegan Lake driveways and Yonkers sidewalks have taken their toll, and the damage often extends beneath the surface layer.
Old vinyl or linoleum tile installed before 1980. These may contain asbestos in the adhesive or the tile itself. Do not sand, grind, or pulverize them. Encapsulation — covering them with a new underlayment — is often the safest and most practical approach.
Uneven floor joists producing slopes or dips across the room. A floor that looks flat to the eye can easily exceed laminate's tolerance of roughly ⅛ inch over a 6-foot span.
Understanding what hides under the old flooring is the first practical step in any laminate project. A thorough laminate buying guide walks through material choices and installation considerations before the physical work begins.
How Preparation Affects Long-Term Performance
Subfloor preparation determines whether your laminate floor lasts fifteen years or starts failing in five. The checklist for older homes runs longer than for new construction.
Leveling compounds fill low spots where old flooring has been removed. Self-leveling underlayment works well for concrete basement slabs but requires careful mixing and a fast application window. Plywood overlays create a fresh, uniform surface over problematic subfloors. A ¼-inch underlayment-grade layer, properly fastened every 6 inches, gives laminate planks a consistent foundation regardless of what lies beneath.
Moisture barriers become non-negotiable over concrete, especially in below-grade spaces common in split-level homes. Westchester basements face seasonal moisture intrusion from spring snowmelt and heavy nor'easter rains. Even in above-grade rooms, a vapor barrier adds inexpensive insurance against the Hudson Valley's summer humidity.
When homeowners are weighing material options, the question often comes down to how well a product handles imperfect conditions. Modern waterproof laminate options, including Mohawk's RevWood Plus, incorporate moisture-resistant cores that add a layer of protection beyond what standard laminate offers — valuable in entryways and mudrooms where winter moisture is unavoidable.
What Professional Preparation Actually Involves
A professional installation team does more than roll out underlayment and click planks together. Before any laminate touches the floor, they measure flatness across the entire room with a straightedge, marking every deviation. They screw down every loose section of subfloor to eliminate squeaks. They apply floor patching compound to seams, fastener heads, and low areas. They address transitions at doorways and stair landings where two different flooring materials meet.
If the subfloor is concrete, they test for moisture by taping down plastic sheeting and checking for condensation after 24 hours. Excess moisture means a vapor barrier goes down first — no exceptions.
These steps are not optional extras. The full process is detailed in our laminate installation preparation guide, which covers everything from acclimation to final cleanup.
If you're planning a laminate installation in an older Westchester home, starting with the right information makes all the difference. Visit Allen Carpet & Home at any of our three showrooms — in Mohegan Lake, Yonkers, or Mount Kisco — to see laminate samples in person and discuss your project with our team. Or schedule your free estimate to have us assess your subfloor and provide a detailed installation plan.

